/Writing
Part 1 of 3 · Homelab Kubernetes Cluster
Why I'm building a bare-metal Kubernetes homelab
· 5 min read
It started, as these things often do, with YouTube.
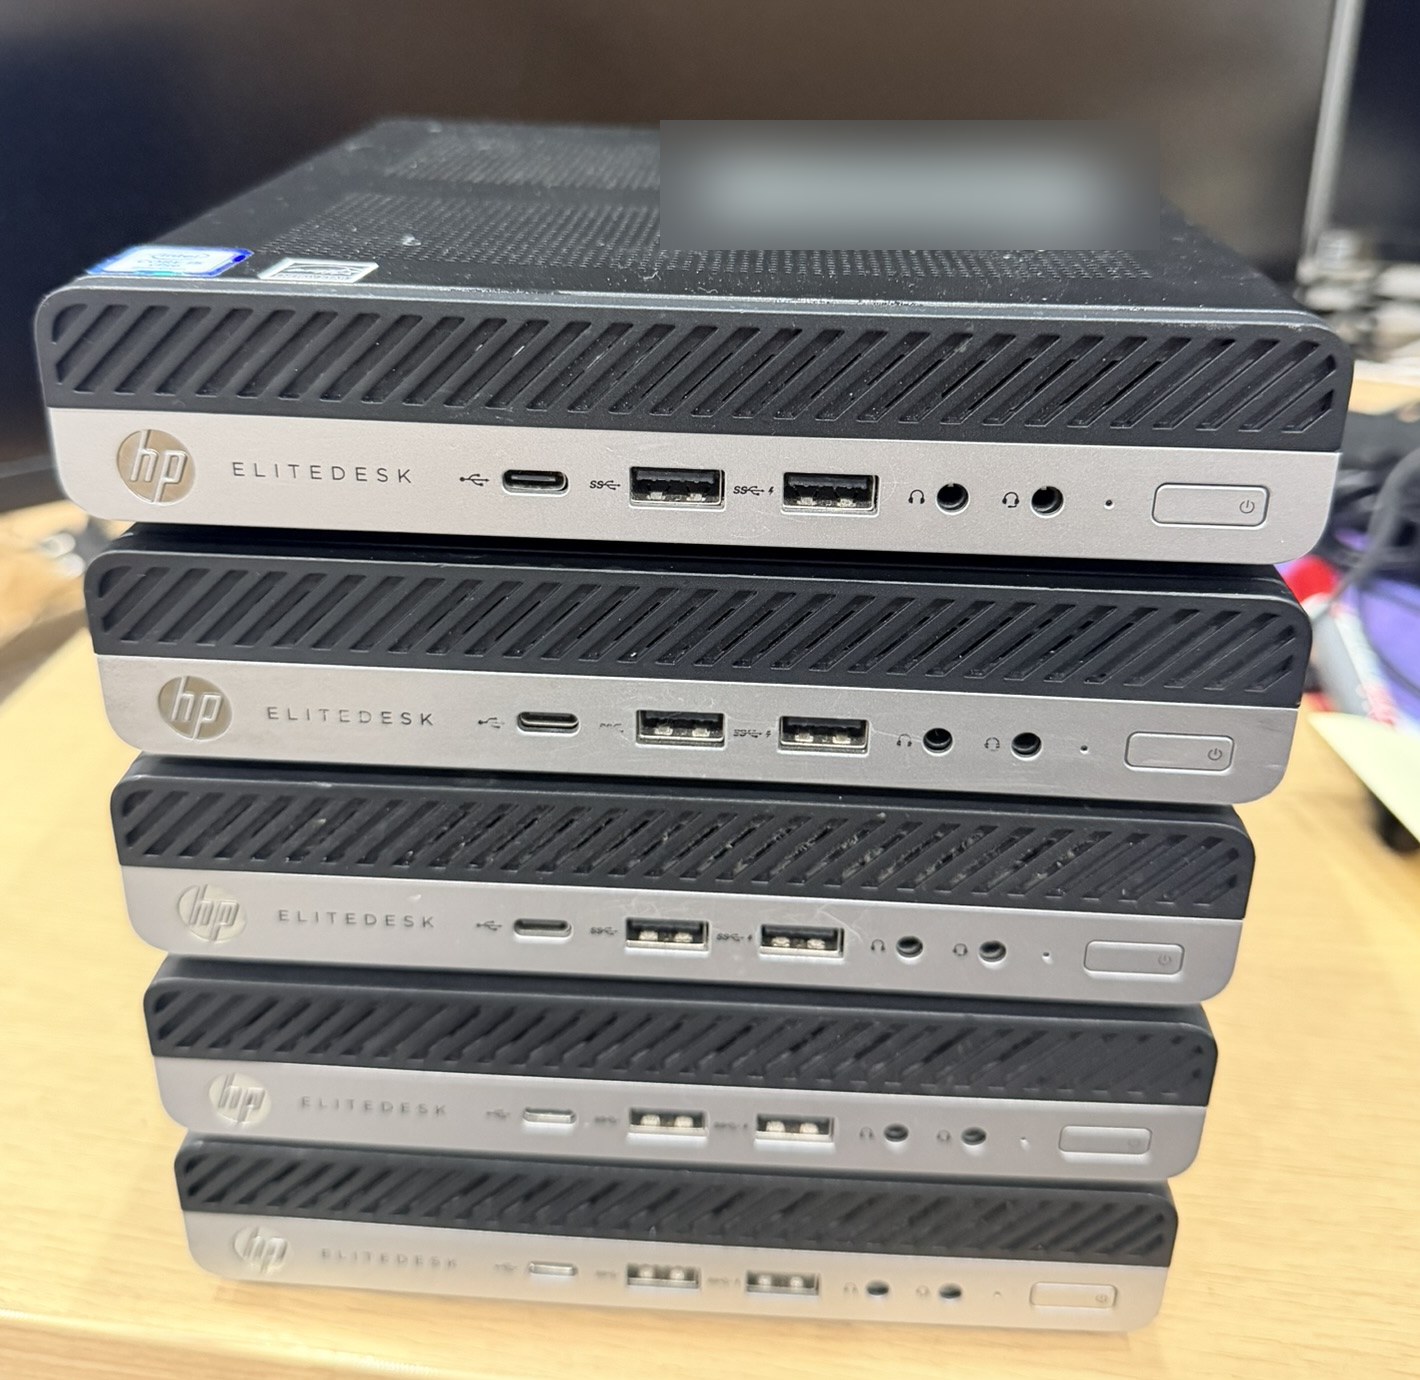
I’d been watching people build homelabs in those tidy little 10-inch racks — mini PCs stacked like books, neat cable runs, blinking switch lights — and one channel in particular, goatsinapond, made it look both achievable and slightly addictive. Then, by pure coincidence, I came across a good deal on a couple of HP EliteDesk 800 G4 mini PCs. The idea was sown.
I’ll be honest about the real motivation up front: it was mostly an excuse to play with some new toys. Well — not so new. Mostly second-hand. But there were better reasons underneath, and they’re what turned “a couple of mini PCs” into a five-node cluster with a rack, a runbook and an engineering journal.
The gap I wanted to close
I work with Kubernetes, but in the cloud — on AWS, with EKS. Managed Kubernetes is brilliant for running production workloads, and it’s exactly what you want at work: someone else runs the control plane, looks after etcd, and gets paged when it breaks.
The flip side is that a whole layer of Kubernetes stays out of sight. I’d never bootstrapped a control plane, never thought hard about etcd quorum, never watched a cluster come up from nothing on hardware I’d racked myself. I understood those things in principle. I wanted to understand them in my hands.
A homelab is the one place where all of that is mine — including the bits that break.
What I want out of it
- Learn Kubernetes from the metal up. Bare hardware, my own control plane, my own networking and storage decisions. Nothing managed, nothing hidden.
- Have somewhere safe to fail. In my day job, reliability is the whole point. At home, I can pull a power cable on purpose and watch what happens — and practise recovering, which you can’t do on platforms people depend on.
- Self-host things I’ll actually use. A cluster with nothing running on it is just an expensive heater.
- Maybe, the CKA. A real cluster to break and fix is the best study aid there is. But this project is about more than an exam — it’s meant to be fun, interesting and challenging.
The hardware
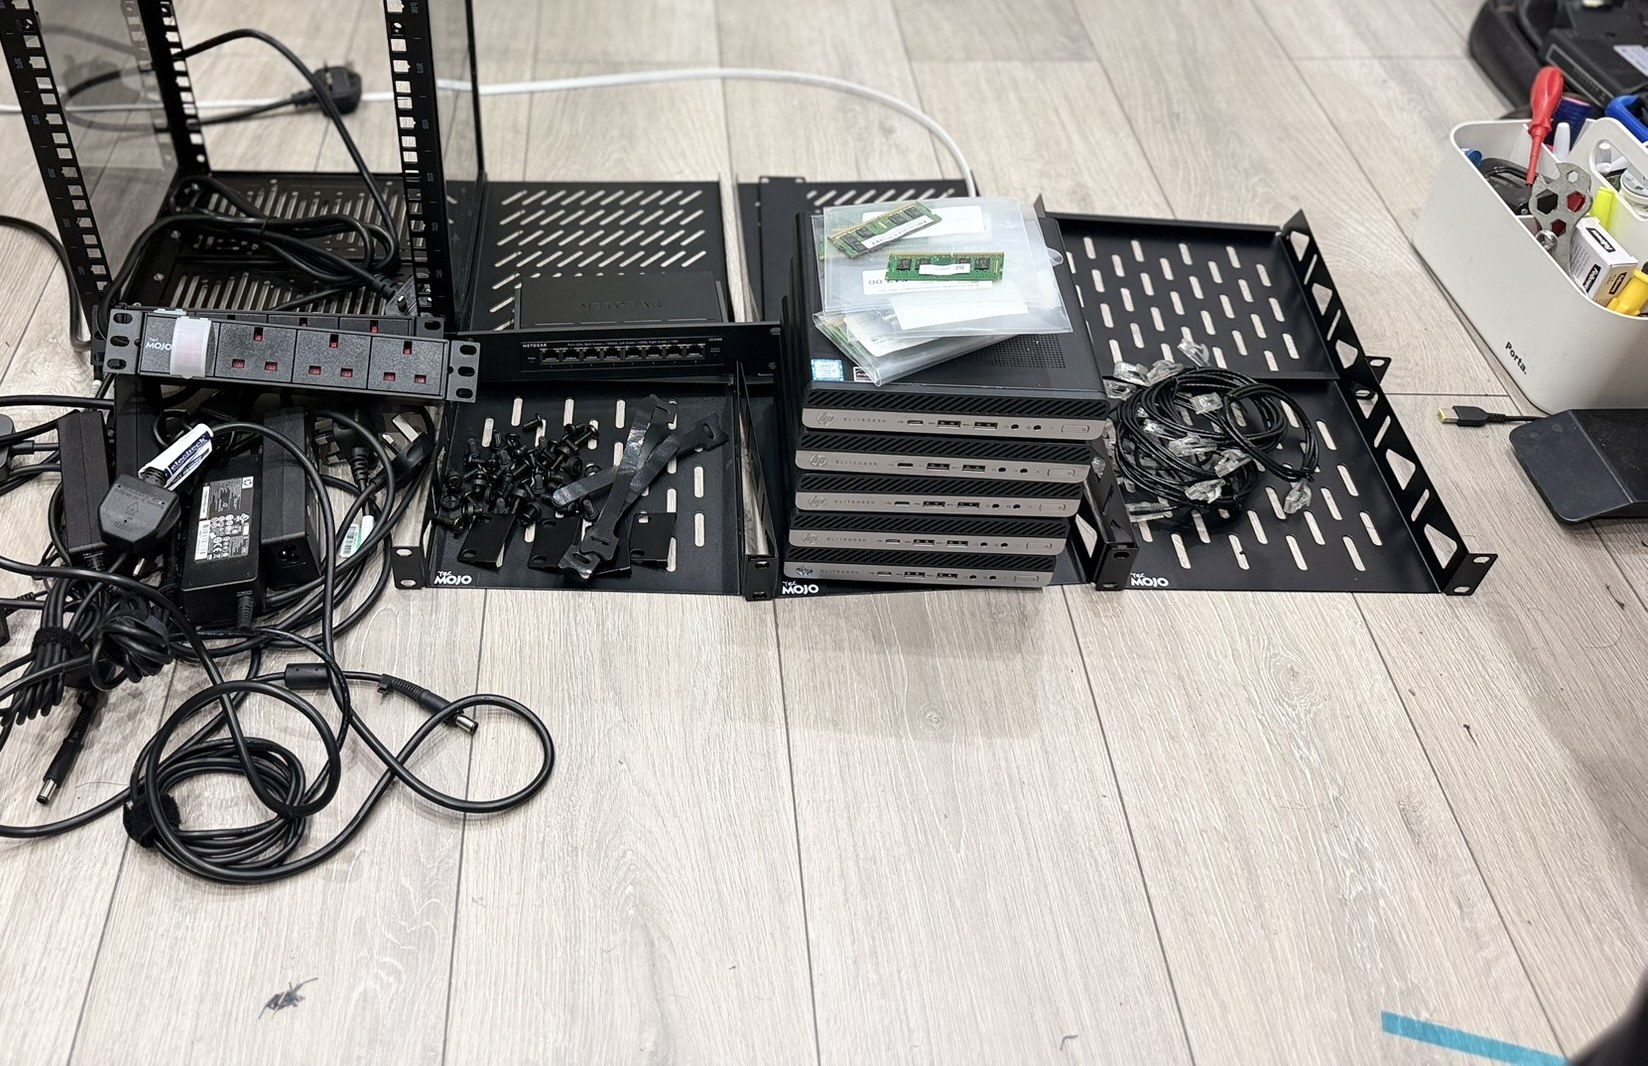
The cluster runs on five HP EliteDesk 800 G4 mini PCs in a 10-inch rack. Mini PCs suited this for a few reasons:
- Small, quiet and frugal. They live in a home, not a data centre, so noise and power draw matter.
- Cheap second-hand. Business mini PCs come off corporate leases in large numbers, so good-condition units are easy to find.
- Intel AMT. These are business machines with built-in remote management, so I can power-cycle a node and see its screen without walking over to it. That turned out to matter far more than I expected — more on that in a later post.
Five nodes gives me three control-plane nodes and dedicated workers, which is the smallest layout that behaves like a real highly available cluster.
Decision 1: bare metal, not a hypervisor
I seriously considered Proxmox — installing a hypervisor and running the Kubernetes nodes as virtual machines. It would have been the cheaper option: fewer physical machines, plus snapshots, easy rebuilds and resizing at will. Plenty of excellent homelabs work exactly that way.
But something about bare metal just felt more me. I wanted the most authentic, enterprise-grade experience I could get, and a virtual layer between Kubernetes and the hardware would always have been standing between me and the real thing. On bare metal, every problem is a real one: real firmware, real network cards, real disks.
The trade-off is real: no snapshots, and rebuilding a node means reinstalling it. But that’s also the point — it forces me to get comfortable treating nodes as replaceable and rebuilding them.
Decision 2: Talos, not k3s
The other serious contender was k3s — lightweight, quick to get running, and hugely popular in homelabs. It would almost certainly have been the easier path.
I chose Talos Linux instead: an operating system built only to run Kubernetes. It’s immutable, declarative, and managed entirely through an API — no SSH, no shell, no package manager.
You may be spotting a theme: it probably wasn’t the easiest option. But it fitted my background and interests. It felt much closer to the kind of choice you’d make for an enterprise platform: the whole node is declarative configuration, there’s no operating system quietly drifting, and you can’t just SSH in and “fix” something by hand. And I loved that everything is an API call. I don’t have to worry about the Linux distribution, the kernel or OS packages — I can focus on Kubernetes itself.
Decision 3: highly available from day one
It would have been easier to start with a single control-plane node and add more later. Instead I built three control-plane nodes from the start, with etcd spread across them and a floating virtual IP in front of the Kubernetes API.
Three is the magic number for etcd: the cluster keeps working if any one control-plane node fails, because the remaining two still form a majority. That’s the kind of property you only really trust once you’ve seen it hold up — and, as it turned out, I got to test it sooner than planned, entirely by accident.
What’s coming in this series
The plan is to write up the build in order, including the parts that went wrong:
- Hardware, rack and power: choosing the nodes, memory, and fitting it all into a 10-inch rack, including the BIOS update that bricked a node.
- Networking: IP addressing, DHCP reservations and the managed switch.
- Remote management: looking after a rack with no monitor.
- My first Talos install: from blank disks to a working control plane.
- High availability, and the failover I didn’t plan.
- Workers and storage: adding worker nodes and planning distributed storage.
I keep systems up for a living. This is where I go home and break my own — and write down what I learn.